The attendance activity module enables teachers to keep records of class attendance and allows students to view their own attendance record. It can be used all term through the settings of multiple sessions.
How to Create the Module
- In the top right-hand corner, click on the toggle to turn Editing mode on.
- Click on the Add an activity drop-down menu and then choose Attendance in the section that you want it to be added to.
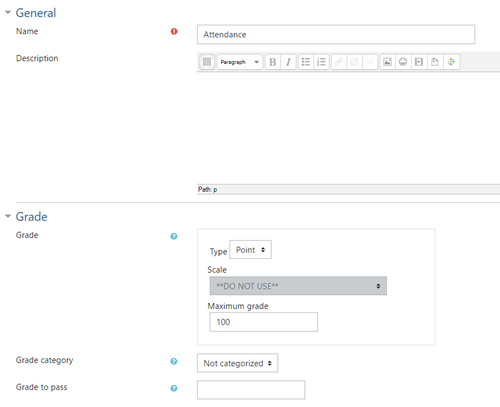
This can be put in the General Section as it’s used all term - The default name will be Attendance, but you may change it. Choose how you want it graded and input the maximum grade, if desired.
- Click Save and display.
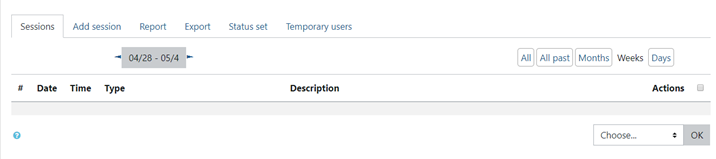
- You will see that there are 6 tabs at the top: Sessions, Add, Report, Export, Settings, Temporary users. This allows you and your students to see the class sessions that they have attended throughout the term.
Adding Sessions
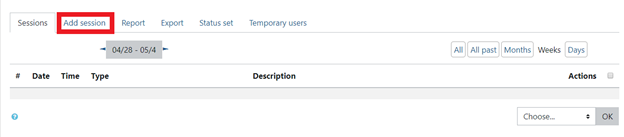
- Click on the Add Session on the tab.
- Add the first session of the attendance, with the date and time. Note: The time frame used is set to 24 Hours, instead of the standard 12 Hour session.
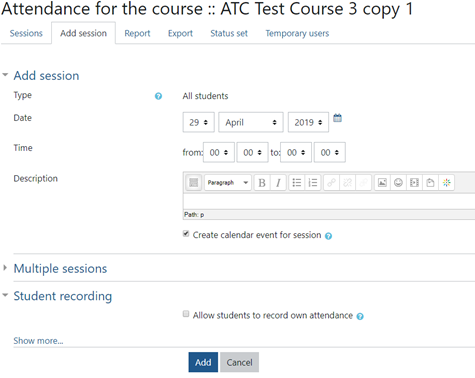
- If you want multiple sessions, i.e. for the whole term, open up the Multiple Sessions tab, and then check the Repeat the session above as follows box, and then check off which days this attendance will be used for and till what day of the term.
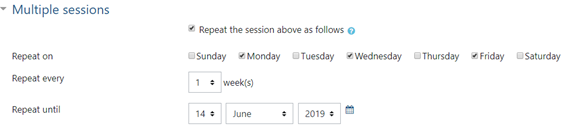
- Select Add at the bottom of the screen.
- You’ll be redirected to a new screen where it will show you all the attendance sessions for that specific course.
Taking the Attendance
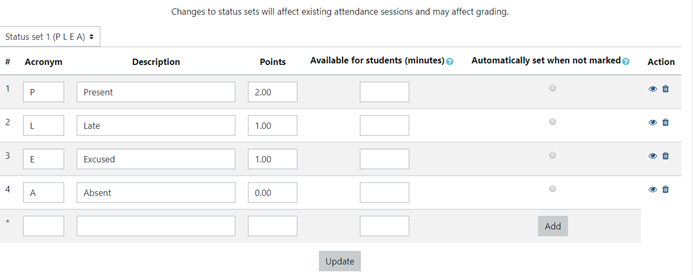
The standard options for taking attendance with the module is set up at P: Present, L: Late, E: Excused, A: Absent. If you want to change these variables, you can go to the Status Set on the menu tab and then change the point values and the variables. Remember to click Update on the bottom of the screen and your variables will be saved.
- Go back to the Sessions tab and select the current day for the attendance and then click the little arrow button on the right-hand side.

- Mark the students off on the screen by clicking the buttons under each variable.
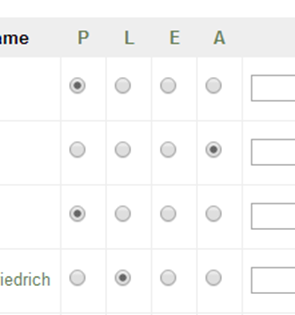
- Click on Save Attendance at the bottom of the screen.
Contact Academic Technology
ATC Support Updates and Hours of Operation The ATC is closed to in-person assista...
ATC Support & Hours of Operation
Weekday Support, Monday - Friday
- Phone (voicemail only): 541-463-3377 (8am-5pm)
- Email: atc@lanecc.edu (8am-5pm)
- Find our updated hours and support options on the ATC Website
The ATC is open to in-person assistance. Support is available through the above remote options and on campus at CEN 208